|
|
|
|
Would you like to make your own handwriting into a font? Click here! Digital Scrapbooking Day Tutorial Learn how to make it look like a binder clip is holding ribbons using the eraser tool in Adobe Photoshop. Here is an image of your end result in a layout: 
First open a new file by clicking FILE and then NEW. I usually make my new file 12x12 inches at 300ppi. Open your elements and drag each one onto the 12x12 file using the MOVE TOOL. Each element will end up in its own layer. You can see this in your Layers Palette. If you can't see your Layers Palette, go to the top menu bar and click on WINDOW then click LAYERS and it will show up. Be sure the ribbon layer is BELOW the binder clip layer. 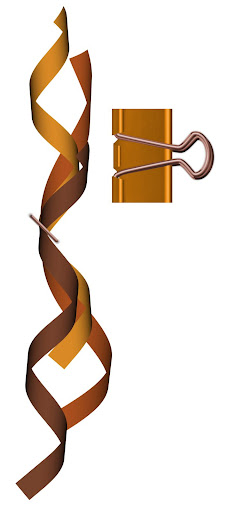
Second, move the ribbon underneath the binderclip 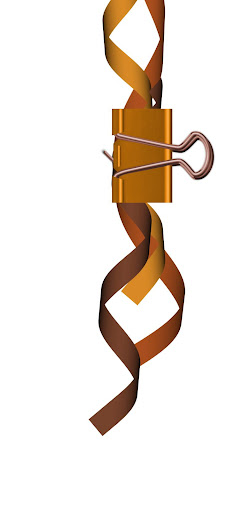
Third, select the ERASER tool 
Finally, carefully start erasing the ribbon layer until you can't see any of the edges sticking out around the binder clip. 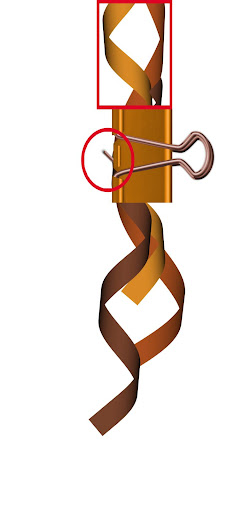
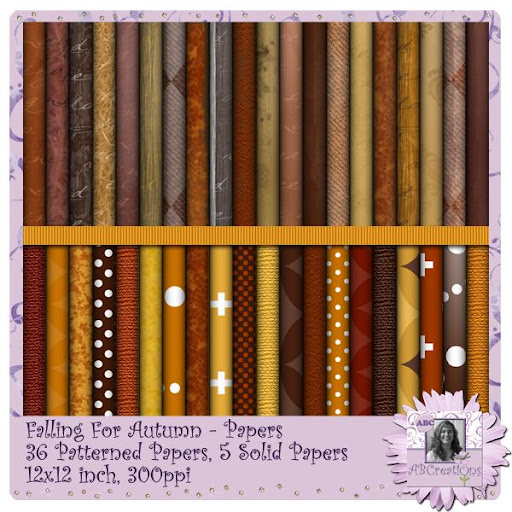
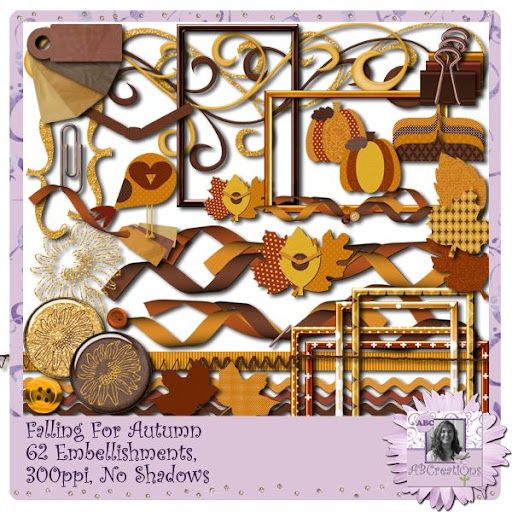
Ta Da! You're finished! Add the rest of your elements, papers and photos for a great looking layout! I used my "Falling For Autumn" kit to make this layout, you can purchase it with the Paypal Link below 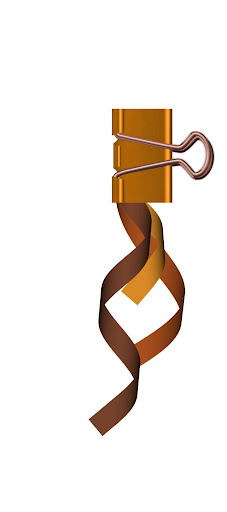 Includes: 1 QuickPage 36 patterned papers 5 solid papers 1 Overlay 3 binder clips 2 glitter brackets 6 buttons 4 frames 2 cluster frames 2 twirly ribbons 1 straight ribbon 2 knotted ribbons 2 ribbon clusters 1 glitter sunflower 8 leaf stickers 1 owl sticker 1 paperclip 1 staple 2 pumpkin stickers 3 ricracs 1 line of stitching 2 glitter flair buttons 3 swirl flourishes 4 tabs 6 ribbon and tag clusters word art phrases and dates 1 full alpha with uppercase, lowercase, numbers, punctuation, and some symbols. 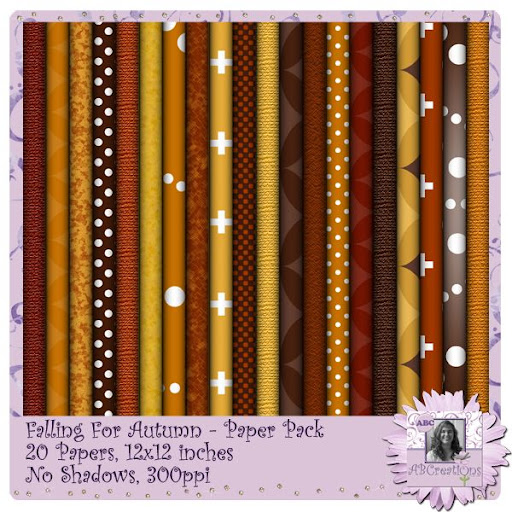

|